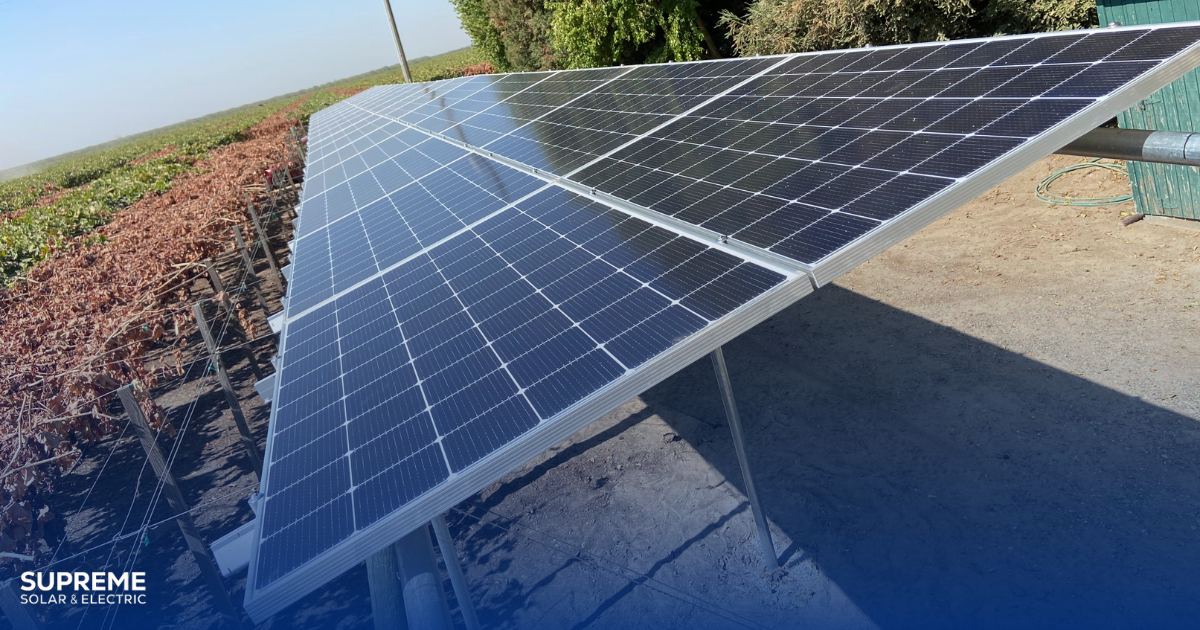
A Comprehensive Guide to the Ground Mount Solar Installation Process
Ground mount solar systems are a fantastic solution for homeowners and property owners looking to harness the power of solar energy. Whether you’re working with open land, a challenging roof, or simply want maximum energy efficiency, ground-mounted solar panels deliver exceptional results.
This guide will walk you through the 10-step ground mount solar installation process, explore the benefits of these systems, and help you determine if it’s the right choice for your property.
Step 1: Site Mapping and Planning
The first step is to map out the installation area. We measure and confirm that the system will fit within the designated space while adhering to all setback requirements mandated by your city or county jurisdiction. This ensures your system is compliant with local regulations and fits seamlessly on your property.
Step 2: Digging the Footings
Next, we dig the footings for the structure. These are typically three to four feet deep and twelve to twenty-four inches in diameter. The depth and size ensure the system is stable and can withstand environmental factors like wind and weather.
Step 3: Setting the Posts
After the footings are ready, we set the posts, which are usually spaced six to eight feet apart. The spacing depends on the height of the ground mount system. For the posts, we use durable two-inch or three-inch galvanized rigid pipes to provide long-lasting structural integrity.
Step 4: Concrete Curing
Once the posts are positioned, we pour concrete into the footings and allow it to cure. This step ensures the posts are securely anchored and capable of supporting the entire system.
Step 5: Adding Cross Pipes and Top Caps
After the concrete has dried, we install the Top caps and cross pipes to create the framework for the solar array.
Step 6: Installing Rails
With the framework complete, we attach the rails that will hold the solar panels. This step determines the layout and width of your system, ensuring the design is optimized for your energy needs and property dimensions.
Step 7: Electrical Components
Next, we install the optimizers or microinverters and complete the electrical work. This includes setting up the wiring and components necessary to connect the solar panels to your home’s electrical system.
Step 8: Laying the Panels
Once the electrical components are ready, we securely mount the solar panels onto the rails. This step ensures the panels are aligned and positioned for maximum energy production.
Step 9: Electrical Connection
We then pull the electrical wiring back to the interconnection point, typically at your main service panel. This step connects the system to your home’s electrical grid.
Step 10: System Commissioning
Finally, we commission the system by conducting thorough testing to ensure it’s functioning optimally. Once everything is verified, we turn the system on, and you’re ready to start generating clean, renewable energy!
Why Choose a Ground Mount Solar System?
Ground mount solar systems offer a range of benefits that make them an excellent alternative to rooftop installations. With greater design flexibility, easier maintenance, and maximum energy production, they’re ideal for properties with open land or where roof-mounted systems aren’t feasible.
Here’s why a ground mount solar system could be the perfect solution for your energy needs:
- Maximized Energy Production – Panels are installed at the optimal angle and orientation to capture the most sunlight year-round, ensuring peak efficiency.
- Easier Maintenance – With ground-level access, cleaning and repairs are simple—no need for ladders or roof access.
- Customizable Design – Unlike rooftop systems, ground-mounted setups aren’t restricted by roof size or shape. They can be tailored to meet your energy goals and property dimensions.
- Roof Preservation – If your roof is shaded, aged, or structurally unsuitable for solar, a ground-mounted system leaves it untouched while delivering clean energy.
- Ideal for Large Properties – Have unused land or open acreage? Ground-mounted solar makes excellent use of your space, providing renewable energy without compromising your home’s structure or aesthetics.
With their versatility and efficiency, ground-mounted systems are a smart investment for homeowners looking to maximize solar energy benefits.
Ready to Go Solar? Contact Supreme Solar!
At Supreme Solar, we specialize in custom solar solutions that match your energy goals and property needs. Our experts will guide you through every step of the ground mount solar installation process, ensuring a seamless experience and long-lasting results.
Contact us today to schedule a consultation and take the first step toward clean, renewable energy!
