
One of the most common questions homeowners ask after signing up for solar is, “What happens next?” Most people understand the concept of solar panels producing electricity, but they do not always understand what happens behind the scenes between signing a contract and turning the system on.
The reality is that a solar installation involves much more than simply mounting panels on a roof.
There are engineering reviews, site inspections, permitting, utility approvals, equipment planning, inspections, and multiple quality control steps that all happen before the system begins producing power. At Supreme Solar and Electric, we have developed a process designed to make the experience as smooth and transparent as possible. While every project is different, most solar installations follow the same general path from start to finish.
through the entire solar installation process so you know exactly what to expect.
Step 1: Notice to Proceed
The process officially begins once financing has been approved, contracts have been signed, and all required documentation has been completed. This is commonly referred to as the Notice to Proceed. At this stage, the project receives the green light to move into production. The sales process is complete, and the operations team takes over. This transition is important because it shifts the project from planning and proposal development into actual execution.
Step 2: Welcome to Supreme Solar and Electric
Once the project receives approval, the homeowner is introduced to the operations team. This typically includes a welcome email and an introduction to the operations manager who will oversee the project throughout the installation process.
During this stage, homeowners receive information regarding:
- Expected timelines
- Project milestones
- Communication channels
- Upcoming appointments
- What to expect moving forward
The goal is to ensure everyone understands the process before work begins. Clear communication early in the project helps prevent confusion later and creates a smoother experience for everyone involved.
Step 3: The Site Survey
The site survey is one of the most important parts of the entire solar installation process. This is where we gather all the information needed to create accurate engineering plans. Think of the site survey as the blueprint gathering phase. The information collected here directly impacts every step that follows.
Equipment Locations
One of the first things we determine is where all equipment will be installed.
This includes:
- Inverters
- Batteries
- Disconnect switches
- Rapid shutdown equipment
- Communication devices
- Monitoring equipment
All equipment locations must comply with current electrical and fire code requirements.
For example, batteries cannot be installed too close to doors, windows, or other building openings. Equipment placement must also account for future serviceability and aesthetics.
Roof Evaluation
Next, we inspect the roof itself.
This includes determining:
- Roof type
- Roof condition
- Structural integrity
- Available installation areas
- Vent locations
- Obstructions
- Potential shading concerns
We also verify that the proposed solar layout fits properly on the roof. Even a layout that looks perfect on satellite imagery can sometimes require adjustments once we physically inspect the property.
Structural Information
We also inspect the roof structure from the attic whenever possible.
This allows us to determine:
- Truss construction
- Rafter construction
- Rafter spacing
- Roof framing details
- Structural attachment requirements
This information determines which mounting system will be used and how the system will be attached to the home.
Electrical Evaluation
The electrical panel is another critical component of the site survey.
We verify:
- Main panel size
- Busbar rating
- Main breaker rating
- Available breaker space
- Existing electrical conditions
- Interconnection options
This helps us determine whether the existing panel can accommodate the solar system or whether upgrades may be necessary.
Step 4: Engineering and Plan Development
Once the site survey is complete, all collected information is sent to our engineering team.
This is where the project begins to take shape on paper. Our engineers create a complete set of construction documents that define exactly how the system will be installed.
These plans include:
- Roof layouts
- Electrical diagrams
- Structural calculations
- Equipment specifications
- Attachment details
- Conduit routing
- Battery locations
- Safety equipment
- Code compliance documentation
One of the most important documents created during this stage is the single line diagram. The single line diagram serves as the electrical roadmap of the system and shows how every component connects together. The plans are professionally prepared and engineered to comply with local building and electrical requirements.
Step 5: The Plan Walkthrough
Before submitting the project for permits, we perform a plan walkthrough with the homeowner. This is an important quality control step.
During the walkthrough, we review:
- Solar panel placement
- Equipment locations
- Conduit pathways
- Battery placement
- Aesthetic considerations
- Final system configuration
This gives homeowners an opportunity to ask questions and request any final adjustments.
Once permits are submitted, changes can create delays, so this step helps ensure everyone is aligned before moving forward. Think of this as the final approval stage before construction documents are officially submitted.
Step 6: Permitting
After plans have been approved by the homeowner, we submit the project for city or county permitting. This is often the longest stage of the entire process. Every jurisdiction operates differently. Some cities approve permits in a matter of days. Others may take several weeks.
Depending on the jurisdiction, permitting can take anywhere from 2 to 8 weeks. During this time, building officials review the plans to verify that the system complies with local codes and requirements. While homeowners often feel like nothing is happening during permitting, a significant amount of work is taking place behind the scenes. We communicate with plan reviewers, respond to corrections when necessary, and work through the approval process.
Step 7: HOA Approval
If the property is located within a Homeowners Association, this process typically occurs simultaneously with permitting. The HOA review process varies widely between communities. Some associations approve solar applications quickly. Others require architectural reviews and additional documentation. Our team handles the submission process and provides the information required by the HOA. By running HOA approval and permitting simultaneously, we reduce overall project timelines whenever possible.
Step 8: Ready to Schedule
Once permits are approved and any HOA requirements have been satisfied, the project moves into the scheduling phase. At this point, we coordinate installation dates with the homeowner.
Installation schedules depend on several factors:
- System size
- Battery quantity
- Electrical upgrades
- Ground mount construction
- Patio structures
- Utility requirements
- Crew availability
A standard residential installation typically takes between 1 and 3 days. More complex projects may take longer.
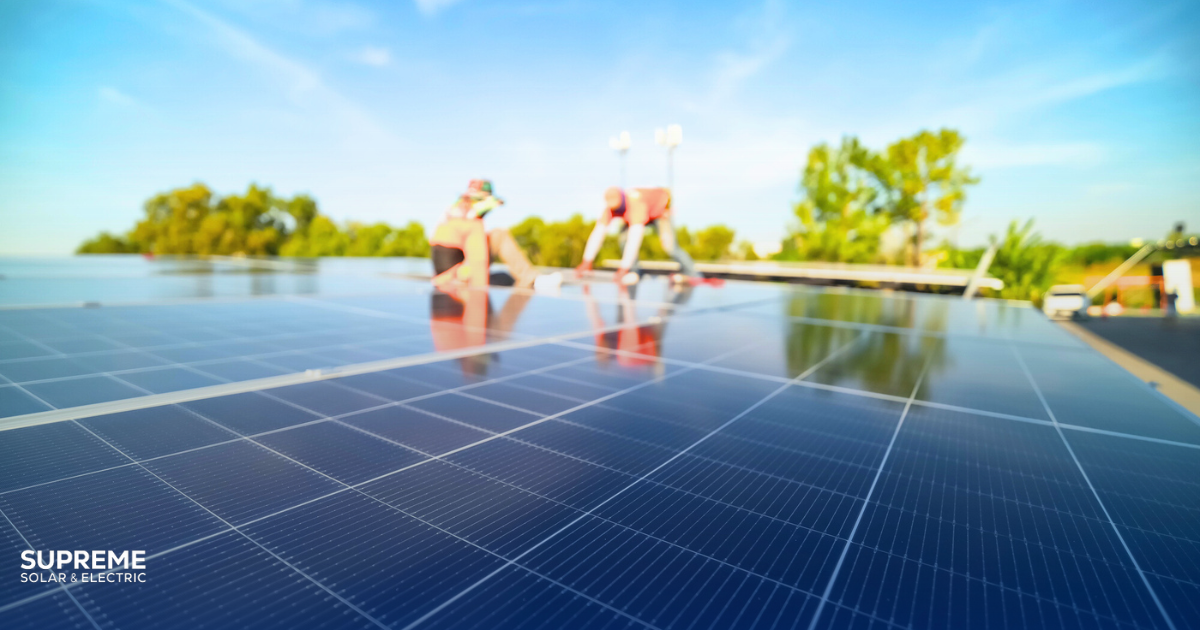
Step 9: Installation Day
This is the stage homeowners have usually been waiting for. The installation team arrives and begins constructing the system. The exact scope varies depending on the project, but installation may include:
- Mounting hardware installation
- Solar panel installation
- Battery installation
- Inverter installation
- Electrical connections
- Conduit installation
- Monitoring equipment setup
- Labeling and safety equipment
Throughout the installation process, our team works to ensure the project is completed according to the engineered plans. Quality control is performed throughout construction to maintain consistency and compliance.
Step 10: City or County Inspection
After installation is complete, the project is inspected by the local jurisdiction. The inspector reviews the installation and verifies that it matches the approved plans.
They confirm that:
- Equipment is installed correctly
- Safety requirements are met
- Electrical work complies with code
- Structural components match the approved design
Most projects pass inspection without issue because the system was installed according to the approved plans from the beginning. If any adjustments are required, they are addressed promptly before moving forward.
Step 11: Utility Interconnection
After passing inspection, we move into the interconnection phase. This is where we submit final documentation to the utility company.
Utilities typically require:
- Final signed permit
- Inspection approval
- Engineering documentation
- Equipment information
- Interconnection paperwork
The utility reviews the project and grants Permission to Operate, often referred to as PTO. Depending on the utility, this process typically takes between 2 and 4 weeks. This is the final approval required before the system can officially be activated.
Step 12: Permission to Operate
Once PTO is granted, the system can begin producing energy. This is the moment the project officially becomes operational. The solar system is now approved by both the jurisdiction and the utility company. The homeowner can begin generating electricity and reducing utility usage.
Step 13: The Solar Recap
Many companies stop after PTO. At Supreme Solar and Electric, we perform a Solar Recap to ensure homeowners fully understand their system.
During this meeting, we review:
- Monitoring applications
- Production tracking
- Consumption tracking
- Battery settings
- Support channels
- Maintenance recommendations
- Warranty information
We make sure homeowners understand how their system works and how to monitor performance moving forward. This is also an opportunity for feedback and questions. Our goal is to ensure every customer feels comfortable operating and understanding their new solar investment.
How Long Does the Entire Process Take?
One of the most common questions we receive is how long the process will take. The answer depends largely on permitting and utility timelines. Most projects fall somewhere between 30 days on the fast end and 120 days on the longer end. The actual installation may only take a few days, but engineering, permitting, inspections, and utility approvals account for most of the timeline. Every project moves at a slightly different pace depending on the jurisdiction and utility involved. The solar installation process involves much more than simply installing panels on a roof.
Behind every successful solar project is a carefully coordinated process that includes engineering, permitting, inspections, utility approvals, and quality control. From the initial welcome call to the final Solar Recap, every step is designed to ensure the system is installed safely, operates efficiently, and delivers long term value. While the process may take several weeks from start to finish, each phase serves an important purpose.
The result is a professionally designed solar and battery system that provides reliable energy, lower utility costs, and long-term energy independence for years to come.
Call our Fresno solar installers at Supreme Solar to request a free quote and get started.